
I’m traveling a bit right now, visiting family in various parts of the country. I’m getting ready to make some big life changes (more on that another day) and decided to hop around the country a bit to see everyone I hadn’t seen in a while. The other day, one of my cousins mentioned to me that she had heard of an Italian recipe where all of the measurements were based off of a yogurt cup.
I had never heard of anything like that – I didn’t even know yogurt had a role in any type of Italian cuisine – so I did some research.
Enter Ciambellone allo Yogurt.
I found a lot of different recipes, all with the same name but all with different ingredients, add-ins and even mixing methods. Because I’m traveling – and not in my own kitchen or near my own pantry – I chose the simplest one to try out.
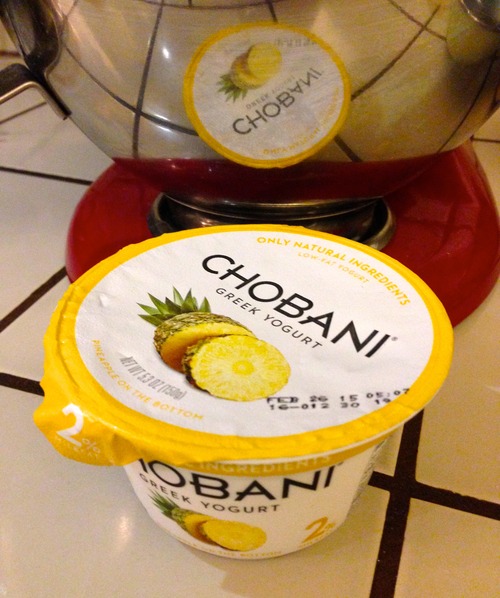
When talking about the measurements in this recipe, it gets a little confusing. In Italian, they call those little individually-portioned containers of yogurt “vasetti” (un vasetto). Most of the recipes I saw called them “pots”, leaving me asking myself “What the heck is a pot of yogurt?” But then again, saying a “cup” of yogurt, as we would say here in the States, makes me think “8 ounces” when reading a recipe, which is not the case (150 ml or grams, which is what is in the requisite yogurt “cup”, is just a little bit more than 6 ounces). So, for the sake of this post, I’m going to refer to those 150ml / 150g / about 6oz individually packaged yogurt containers “vasetti“, and now that I’ve gone into this long-winded explanation you’ll know what I mean.
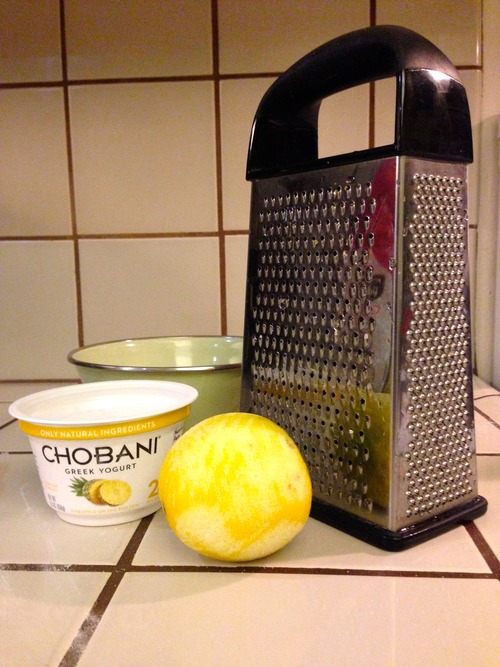
Now, like I said, there are a lot of variations on this recipe. Some of them have lemon zest, others have orange zest. Some have raisins, some have candied orange peel. Some have vanilla flavoring, some don’t. So even though most of the recipes called for 1 vasetto of plain yogurt, I didn’t really have any qualms about reaching into my fridge and pulling out a pineapple-flavored Chobani Greek Yogurt (no jokes here about using “Greek” yogurt in an Italian recipe, please – I like it and it works perfectly for this).
All you need for this simple recipe is:
450g All-Purpose (or 00) flour
300g caster sugar (if you can’t find or don’t have caster sugar, you can either just use granulated sugar or else grind the granulated sugar in a small food processor to break down the granules).
75g vegetabe oil (corn or sunflower)
3 large eggs
150g yogurt
2 heaping teaspoons of baking powder
The zest of one large lemon
Flavoring or add-ins of your choice.
First thing’s first: empty the yogurt into a bowl and clean it out so you can use it as a unit of measurement.
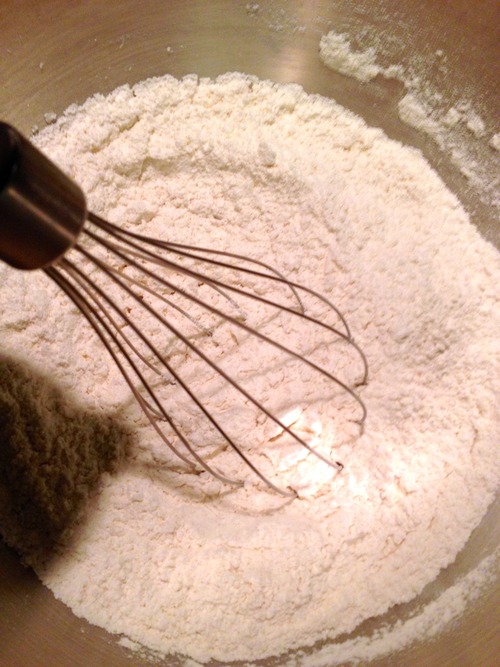
Then sift three vasetti of flour and two teaspoons of baking powder into your mixing bowl. (Or, if you’re not in your kitchen and are embarrassed to ask where every little thing is, just use a whisk to break up the clumps)
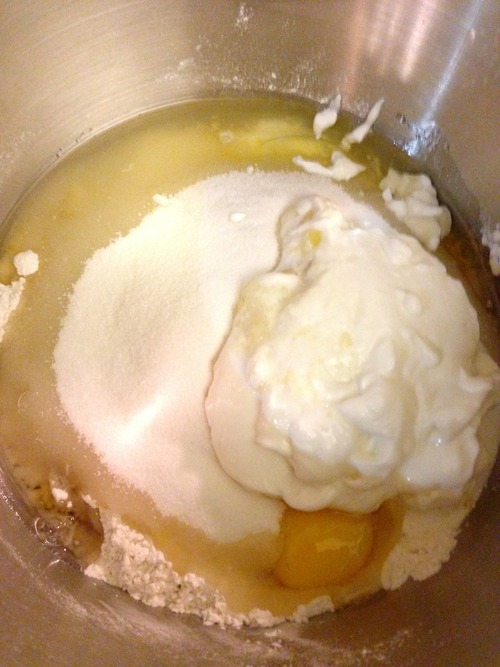
Then add 2 vasetti of sugar, three eggs, half a vasetto of vegetable oil and the zest of one lemon. Oh, and your yogurt, of course!

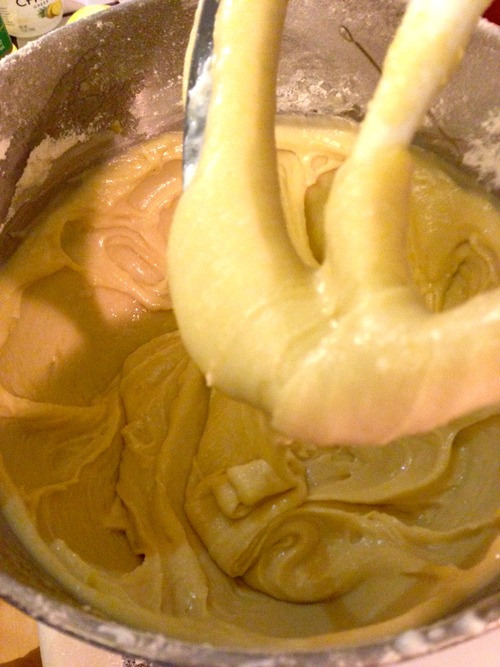
The dough will probably be a little still (remember, this is a cake, not cookies). If that’s the case, just add a little milk and mix until it’s smooth and pours relatively easily.
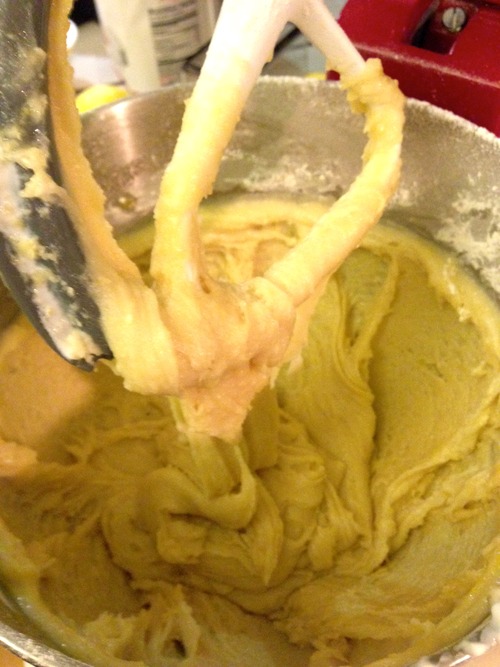
Like this:
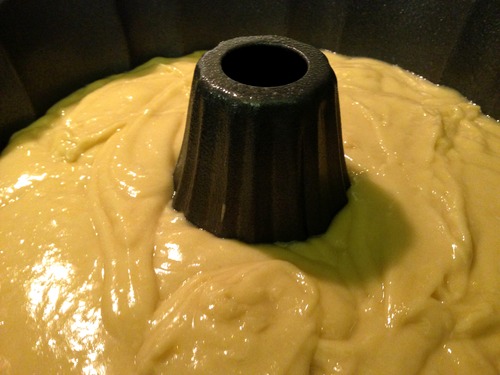
Pour into a greased ciambella pan – or, lacking that, a bundt pan. (I also read somewhere that you can put an empty tomato can in the middle of a round, tall cake pan to make the hole in the middle.)
Once the oven is preheated to 350 degrees Fahrenheit, set your microwave to 50 minutes, and wait.

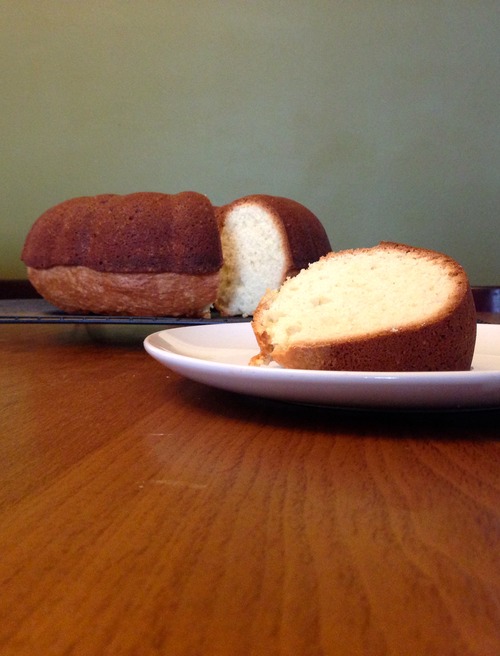
The recipe I used said to turn off the oven after 50 minutes but leave the ciambellone in for another 5 minutes, then to remove the pan and let the cake cook in the pan. This gives the cake a nice, firm “crust” while keeping the cake moist. Next time, though, I might try removing the cake right at 50 minutes and only letting it slightly cool before removing it from the pan and cooling it the rest of the way on a cooling rack. I think I might (personally) like it better with a little less of a “crust” on top (thought it probably does keep the moisture in longer than without the crust).
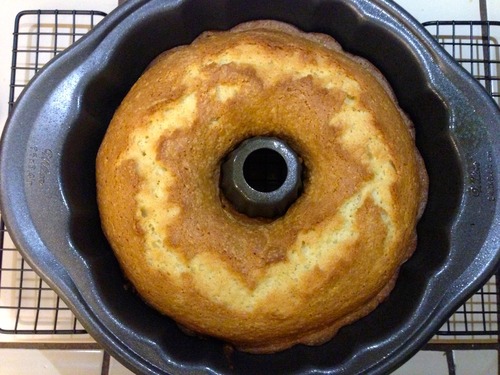

You’re left with a thick, not-too-sweet, tasty cake perfect for breakfast… or a snack… or any time of the day ![]()
I’m happy with the choice to use the pineapple Chobani yogurt. If you decide to use plain yogurt instead, I’d definitely recommend adding liquid flavoring or an “add-in” to enhance the taste. Of course, even if you don’t it would be a great cake to dip in a coffee or espresso!
Buon appetito!
Comments
comments


Leave a Reply