
Cornetti are a staple of an Italian breakfast and, like their French counterpart croissants, I had always heard how difficult they were to make.
“People try in Italy,” one of my Roman friends told me, “but they’re never as good as you get in the caffè.”
That sounded like a challenge to me ![]()
I looked up the recipe in one of my favorite cookbooks, The Italian Baker, by Carol Field (available on Amazon). Ms. Field interviewed and baked with Italian bread and pastry chefs throughout Italy, learning their traditional recipes and noting her favorites. She’s also added in instructions for the modern baker (someone using a stand mixer or food processor), which is super handy.
This was going to be a long process. There were multiple rising periods, two of which were 6 hours long to overnight. I sat down and mapped it out backwards, starting from when I wanted to have them ready (Friday around lunchtime, so I could deliver them to friends in the afternoon) and figuring out when I should start baking.
I decided to start the dough Thursday around lunchtime. There was a 2 hour rise, then an “overnight” rise – but instead of overnight I could just give it 6-8 hours and continue that evening, after dinner. At that point I’d incorporate the butter block, let it rise again for about an hour, then do another overnight rise while I slept. In the morning I’d shape the cornetti, let them rise again for almost 2 hours, finish them off with an egg wash and some raw sugar on top, and bake them.
It seems like a lot, but the time you actually spend working the dough isn’t that much. The longest period of actual work is when you form them. The rest – particularly with a stand mixture – is pretty quick and easy.
So how did they turn out, you ask? Well, I was extremely gratified when my Roman friend, after tearing into one Friday afternoon, told me, “This might be one of the best cornetti I’ve ever eaten!”
Thank you, thank you very much ![]()
When I was trying to look up supplementary materials online there weren’t a lot to choose from, so I wanted to share the process with you step by step in case you’d like to try this out for yourself. The recipe makes 20 cornetti but Ms. Field notes that you can also freeze them after they’re formed for up to 10 days. Simply wrap tightly in aluminum foil and then thaw in the refrigerator for 24 hours before baking.
Are you ready? Let’s get started!
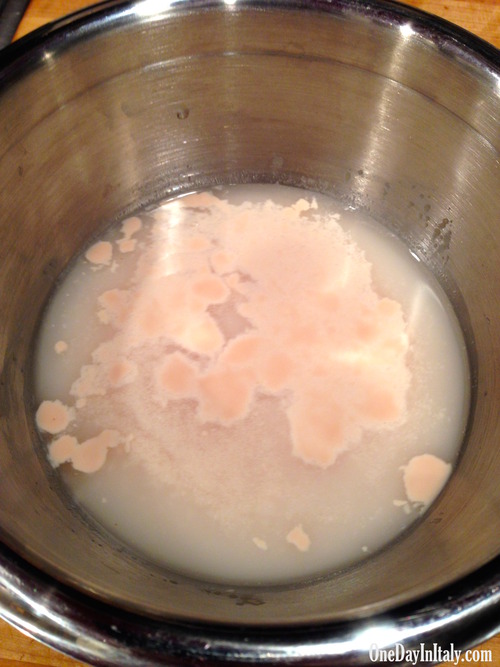
Stir .5 ounces / 15 g active dry yeast into 1.5 cups warm water. Let the yeast react till foamy, about 10 minutes.
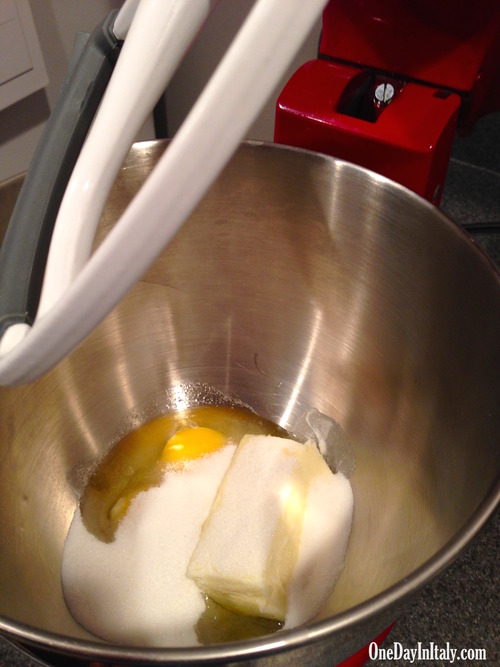
Meanwhile, beat 1 stick of room temperature butter (I like the European-style butters for baking, like Kellygold, that have a higher fat content and therefore a flakier and richer result), 1/2 cup plus 1 teaspoon white, granulated sugar and 2 large eggs in a stand mixer with a paddle (Ms Fields also outlines recipes by hand and with a food processor, but I’m only going to describe my experience with the recipe).
Once the yeast is foamy, add it to the butter, sugar and egg mixture along with 2 1/3 cups unbleached all-purpose flour, 2 1/3 cups bread flour and 2.5 teaspoons of regular salt. Mix for about a minute and a half; the dough should come together rather quickly.
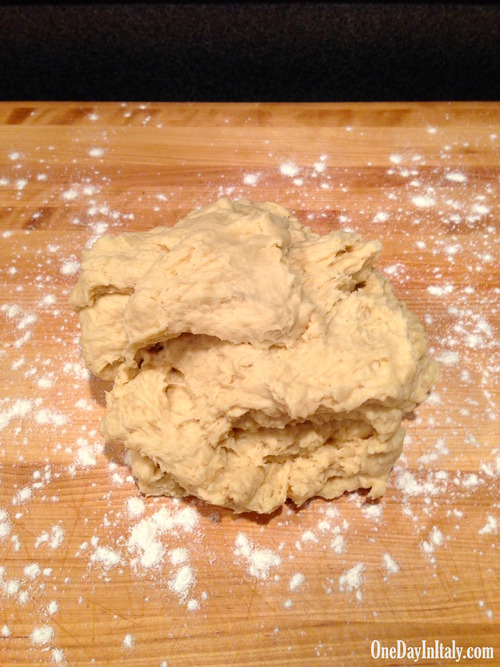
Plop the dough on a lightly floured surface and sprinkle the top with a little flour as well. Knead until smooth – not too much! Kneading for more than a minute will make the dough too elastic.
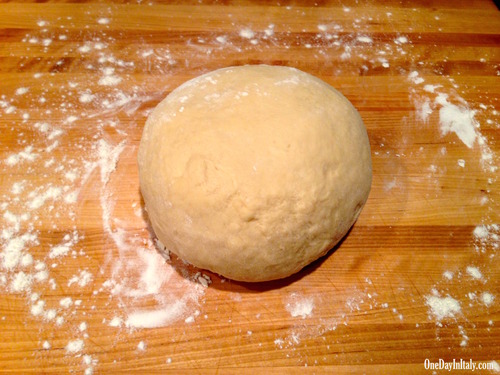
You’ll wind up with a pretty ball.
Place the dough in a lightly greased bowl and cover tightly with plastic wrap. Leave it in a warm (but not hot!) place to rise for 1 to 1.5 hours.
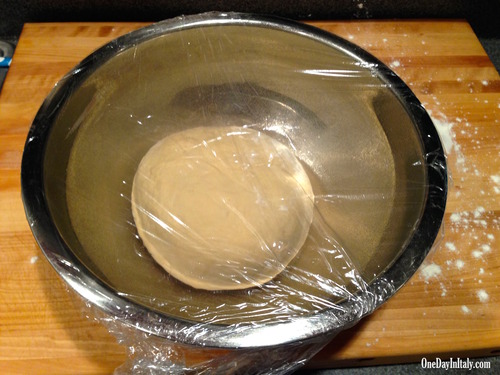
The dough should about double in size.
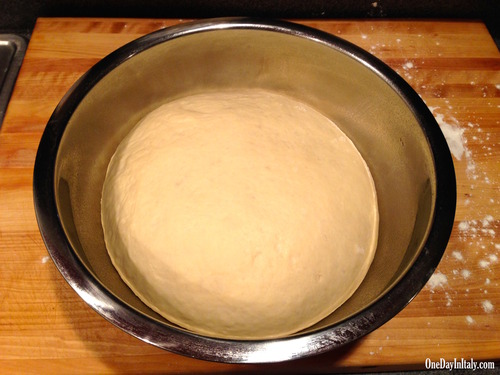
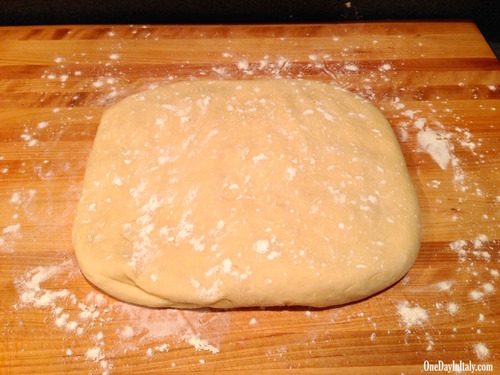
Carefully remove the now large ball of dough from the bowl and place it gently on a lightly floured surface. Knead it 5 or 6 times to release some of the air (no more!). Then flatten the dough with your hands, creating a small rectangle.
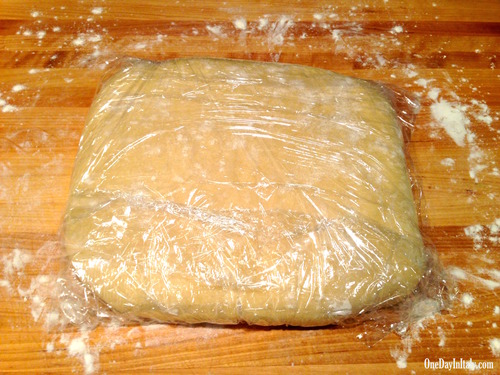
Sprinkle the top with flour and then wrap tightly in plastic wrap. Place it on a baking sheet and then into the refrigerator for 4-6 hours or overnight.
Before you take the dough out of the refrigerator, it’s time to make the butter block!
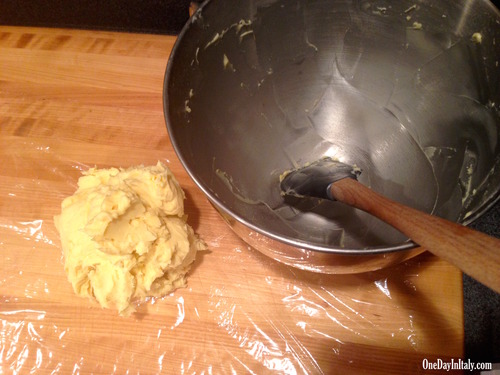
Cut 16 ounces of cold, unsalted butter in to small, 1/4 inch pieces. Quickly, or the butter will start to heat from being worked and from the warmth of your hands and it will be a mess. Put the pieces of butter into the bowl of a stand mixer with 1 cup minus 2 tablespoons unbleached all purpose flour and mix until combined, slowly at first then quickly to smooth it out.
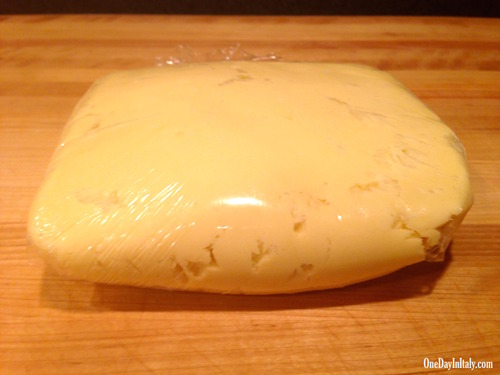
Take it out of the mixing bowl and place it on a sheet of plastic wrap. Cover it tightly – I’d suggest forming it into a flat rectangle; it will chill faster.
Place the butter block in the refrigerator until cold but not hard, probably about 20 minutes.
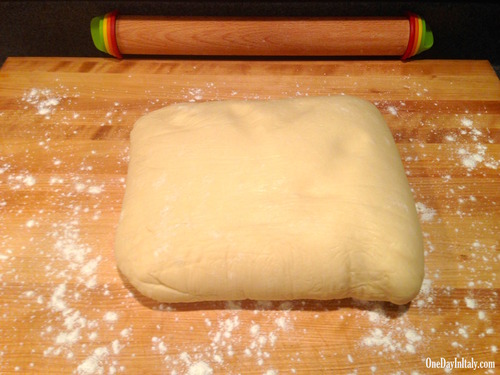
Take the dough out of the refrigerator and gently roll into a rectangle. Ms Fields says 20″ X 12″ and 1/4″ thick (with the short side closest to you), but I found that in order to get it 1/4″ thick my rectangle needed to be larger. No big deal. My surface was also longer than it was deep, so I put the short sides to my left and right, rather than closest to me.
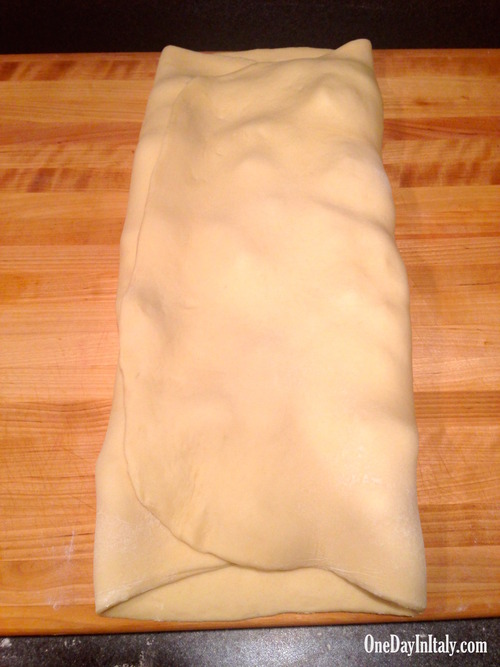
Once you have your rectangle, tear off small pieces of the butter block and place them over 2/3 of the dough, starting from the left (in my case) and leaving about an inch on the edges. Then fold the dough like a business letter, starting with the left edge (I know it seems awkward, that the butter might fall, but don’t worry too much). Then fold the right side to cover the left. Pinch the edges slightly so the butter won’t fall out.
Beat the top of the dough lightly with the rolling pin to start distributing the butter. The goal in the next few steps is to evenly distribute the butter throughout the dough creating layers that will make your cornetti light and flakey.
Turn the dough 90 degrees, taking the bottom edge and swinging it up and to the right, counter-clockwise. Roll the dough back into a rectangle – it should look just like the rectangle you had before in dimension and orientation. Try to be gentle enough not to burst the butter through the dough, but you’ll find that the dough might be tougher than you’d expect. Continue sprinkling flour on your surface and on the top of the dough whenever you think it might start to stick.
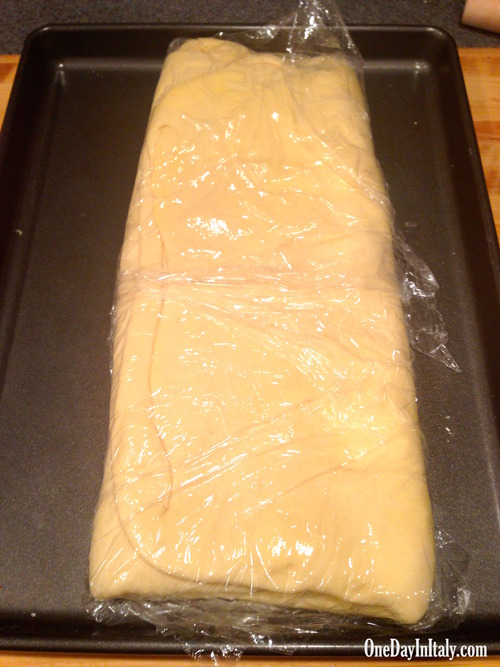
Make the same folds as before (left side folded 2/3 in, then right side covering it), wrap in clear plastic wrap and refrigerate on a baking sheet for 45 minutes to an hour.
Now we take out the dough, rotating it 90 degrees from where it was when we folded it the last time, and do it all over again – twice! When finished, you should have rolled into a rectangle and folded four full times.
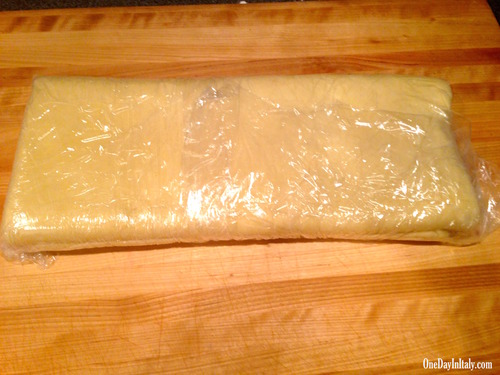
After the fourth fold, wrap tightly in plastic wrap and put in the refrigerator 4-6 hours or overnight.
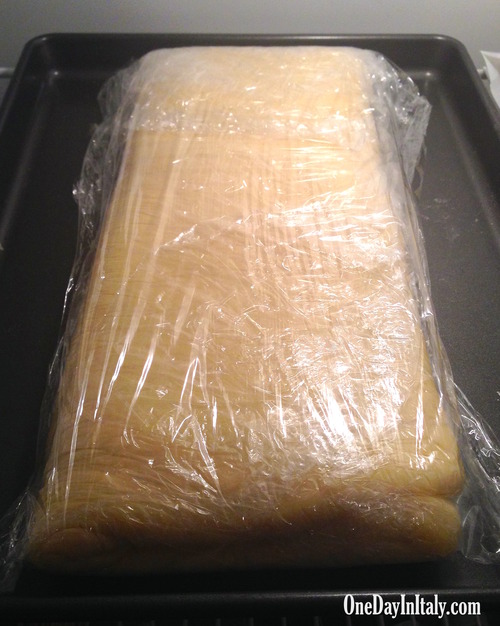
The dough is going to want to rise – a lot. To keep it from rising too much, put a 5 lb bag of flour on top of it. My dough was bigger than the bag, so I put a large cookbook on top of the dough and the flour on top of that.
Now you’re ready to cut and shape your cornetti!
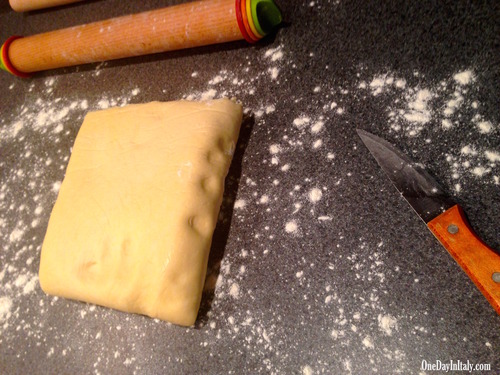
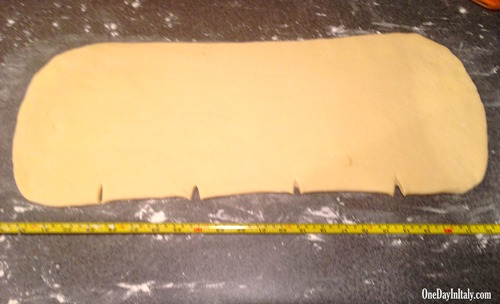
Remove the dough from the plastic and place on a lightly floured surface. Cut it in half and roll the first piece out into a long rectangle; Ms. Fields says 26″ X 8″, but I found that mine was more like 35″ X 12″. Make sure the dough isn’t sticking and re-flour underneath it as necessary.
Each half of the dough will make 10 cornetti. I started by taking out a ruler and making four marks evening along the bottom to separate the dough into five tall rectangles.
Once you know where your tall rectangles will be, cut them out (but don’t move them yet). In order to get the triangle shape we all know and love from Thanksgiving Crescent Rolls, cut each rectangle from the top right corner to the bottom left corner. You’ll wind up with 10 triangles.
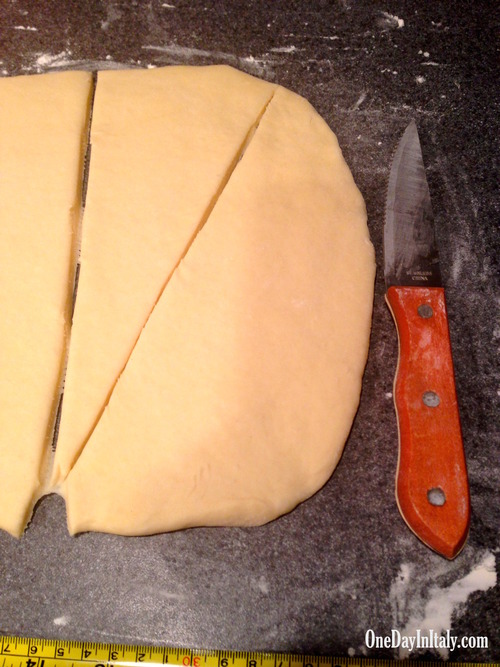
You may need to trim the edges if your far sides are particularly rounded. Don’t worry – the edges won’t go to waste!
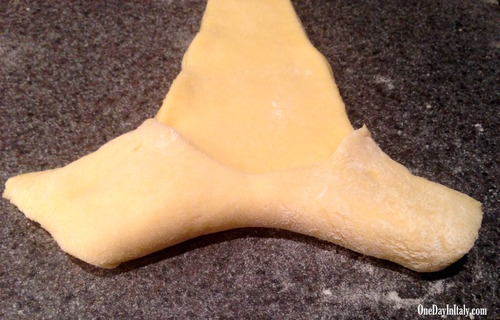
Now take your triangles one by one to form them. Cut a small slit on the bottom of the triangle. This will let you fold out the corners easier to get a larger cornetto.

Fold it like the picture below, so the inside tips of the slit reach toward (but not over) the edges of the triangle.
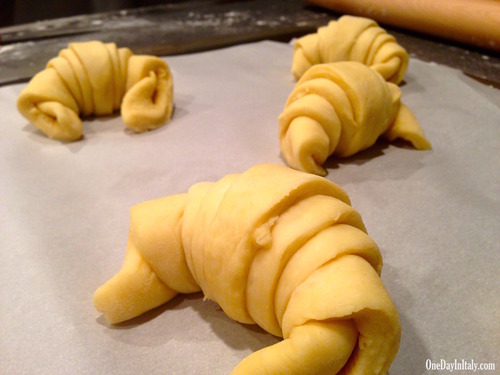
Then start rolling. Feel free to pick it up and stretch the dough a bit – either wider or longer – to make your perfect shape. I was surprised by how tough the dough is; don’t be afraid of it.
Place the cornetti on a parchment-covered or light-greased baking sheet and bring the ends together (to touch, if you’d like, or just into a crescent shape).
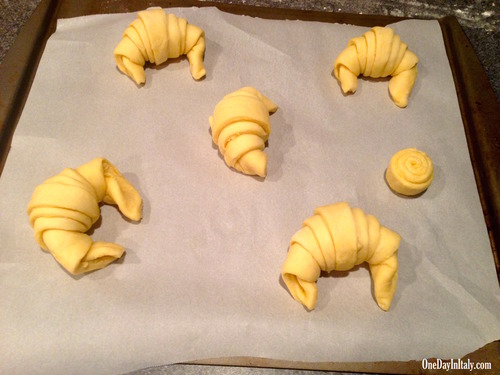
Remember the extra edge piece? Roll it up into a tight circle, like a cinnamon bun, and place it on the cookie sheet as well.
Repeat the shaping process with the second half of the dough, then cover the baking sheets lightly with clear plastic wrap and let rise (outside of the refrigerator) for about 2 hours. Make sure they’re in a warm (but not hot) place.
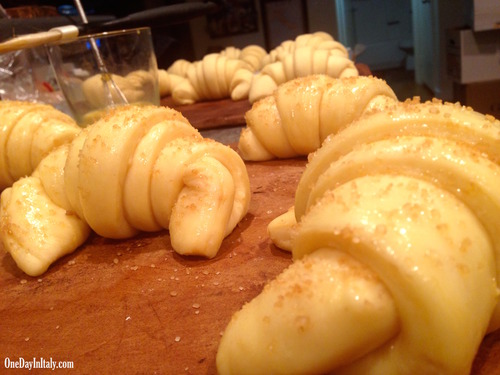
After they’ve risen, beat one egg and brush each cornetto with a pastry brush. I was careful to cover every visible surface.
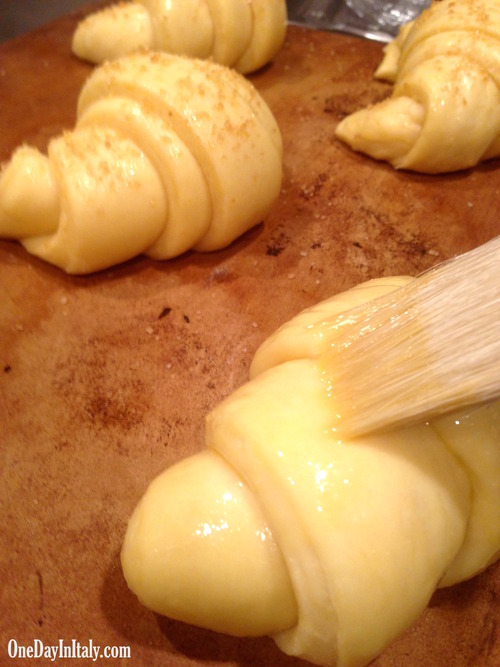
Since these are sweet cornetti, I sprinkled them with raw sugar (white, granulated sugar won’t work).
Bake at 425 degrees for 6 minutes, then reduce the heat to 375 degrees and bake until golden, about 15 minutes.
Cook completely on a baking wrack, and voila!


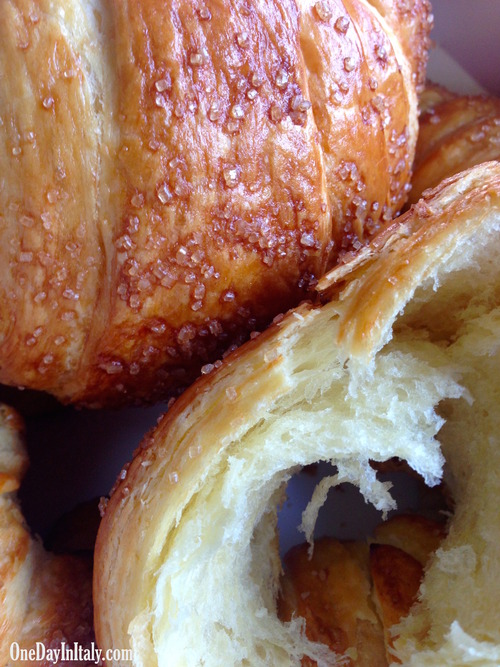
Cornetti are best within 24 hours, but I had a friend who reheated one two days later in the oven so it almost toasted an then made it into an egg & bacon sandwich. I’d imagine egg & prosciutto – maybe with tomato or lettuce, too? – would be delightful as well.
Have you tried to make cornetti? Let us hear about your experience and any tips you may have!

Comments
comments


I lived in Trieste when I was a child around nine and ten years old, in the 50′s, when my dad was an American foreign service officer during the period that Triest was a “divided city”. I remember eating “horn” rolls, crescents shaped like the cornetti in your photographs above. They were not flaky like the French croissant but had a certain resistant quality when pulled apart, a sponge pull that delighted this child, and had a delicious flavor, plain, without creme or sugar. I remember my mom saying it was so good because the bread shop was run by Austrians. I returned to Trieste many years later, practically ran to a bread shop in the neighborhood where I had lived almost sixty years before, and bought a roll. I was so saddened to taste the fluffy layers of the French croissant. Perhaps your recipe is like the real deal… or is my memory just nothing more? Is is possible to describe a taste and texture?