
I’ve ordered ribollita, a traditional Tuscan soup of cabbage, beans and bread, several times while traveling through Italy and have even tried to make it at home in the States. This week at the farmer’s market, though, I decided to buy the many, many vegetables needed to make ribollita according to a recipe I found on GialloZafferano (which, unfortunately, doesn’t have an English version, but I’ve translated the steps below).
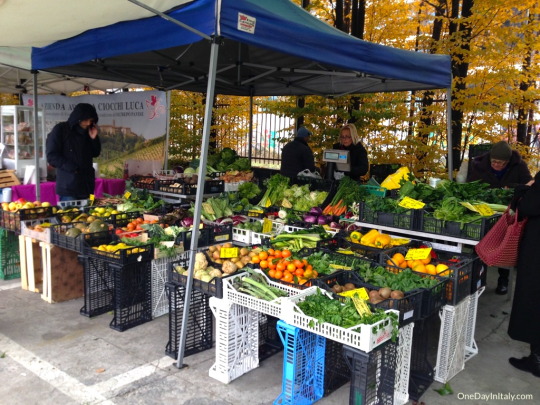
Here’s what I bought:
250g Savoy Cabbage (chopped into short strips)
250g Tuscan Kale (ribs diced and greens loosely chopped)
200g Swiss Chard (chopped into small pieces)
200g Cherry Tomatoes (halved or if large, quartered)
250g White Tuscan Beans (the recipe calls for dried cannellini beans but I chose to buy fresh; I’d probably add the extra steps for the dry beans next time. They want you to soak them in cold water overnight, rinse them and then boil them for an hour with a bay leaf and pork rind, then drain them – BUT SAVE THE WATER to use as the broth for the soup. Since I skipped this step, I had to make / buy vegetable broth)
1 Medium Carrot (peeled & diced)
1 Medium Stalk of Celery (diced)
1 Large Leek (cut into thin rounds)
1 Medium-Large Potato (peeled & diced)
1 Small Yellow Onion (diced)
Fresh Rosemary (for garnish & topping)
2-3 Garlic Cloves (slightly smashed)
1 Medium Loaf of Tuscan Bread (stale actually works best, chopped into about 2 inch cubes)
After arriving home with a huge bag of produce, I set to chopping & prepping it all… which took some time. I called my parents to chat while I sat at the kitchen table for what seemed like ages and ages, peeling, chopping, cutting, dicing and slicing until it was all finally done.
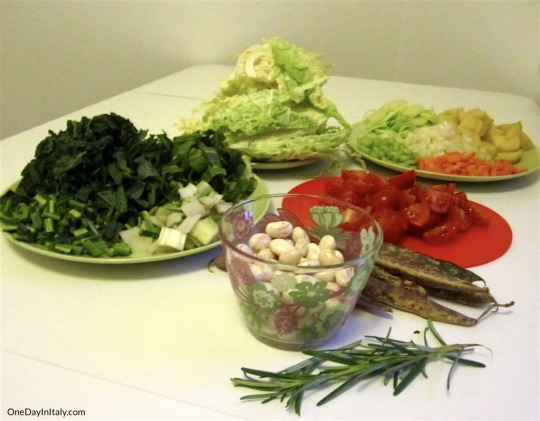
Then I was ready to actually begin. Saying goodbye to my parents, I put a little olive oil in a large pot on medium to medium-high heat and added the slightly smashed garlic gloves and let them flavor the oil for about a minute. The recipe says to then remove the garlic (which I did), but if you’re like me you’d tend to want to leave it in there… Anyway, then add the carrot, celery and onion, stirring frequently so that it doesn’t stick to the bottom. At this point I added a bit of salt & pepper, though the recipe waits till later in the process.
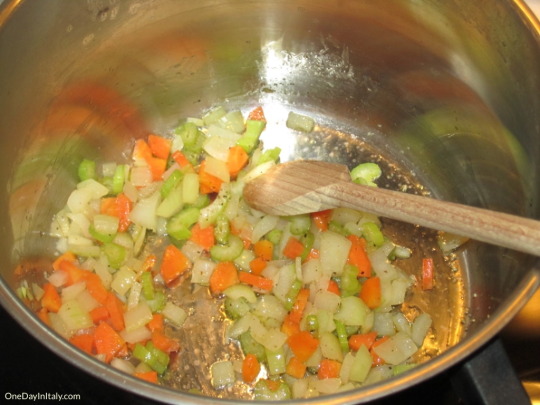
Once the carrots are slightly soft, add the leeks and continue stirring.
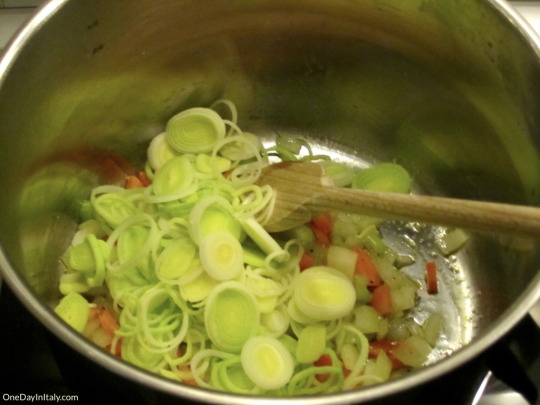
Once the leeks have begun to soften and everything seems melded together a bit, turn the heat down to medium-low and start adding in all the greens. Start with the Swiss chard and Tuscan kale, then add the Savoy cabbage on top.
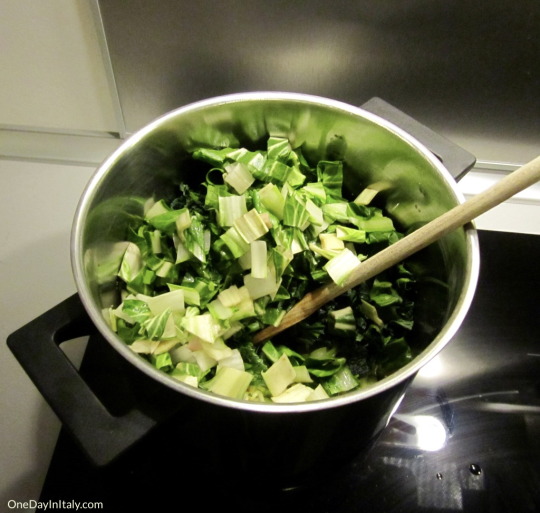
Be sure you start off with a big enough pot! This was the biggest one in my rental apartment but I was close to overflowing after I put the tomatoes and potatoes on top.
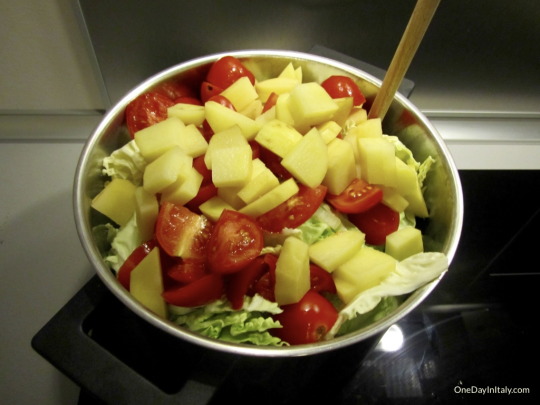
This is the point where the recipe says to add salt and pepper, so I did it again just for good measure. Add a few hearty ladles of broth so that the things on the bottom are in no dander of sticking or burning, then cover and leave it to simmer on the stove for at least two hours.
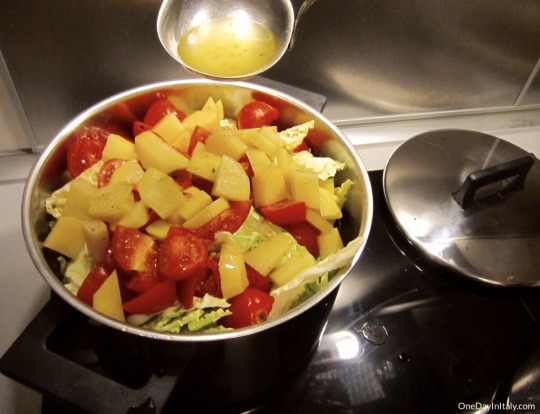
Every 30 minutes or so, you may want to add another spoonful of broth as it is absorbed and evaporated. Once the greens reduce enough that you’re able, stir things up a bit so that the things that were on top are now cooking in the broth. Recover and wait.
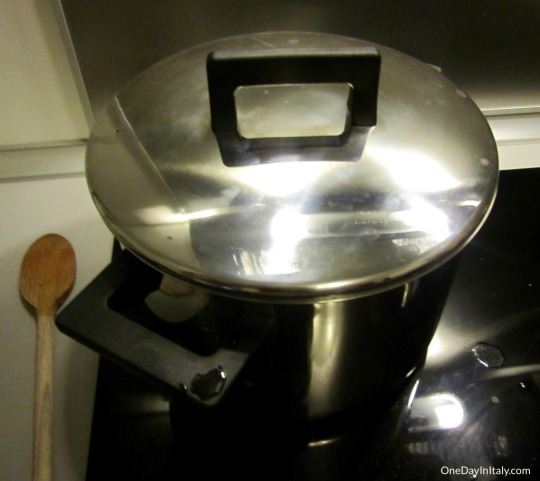
After about two hours everything in the pot will be very much reduced.
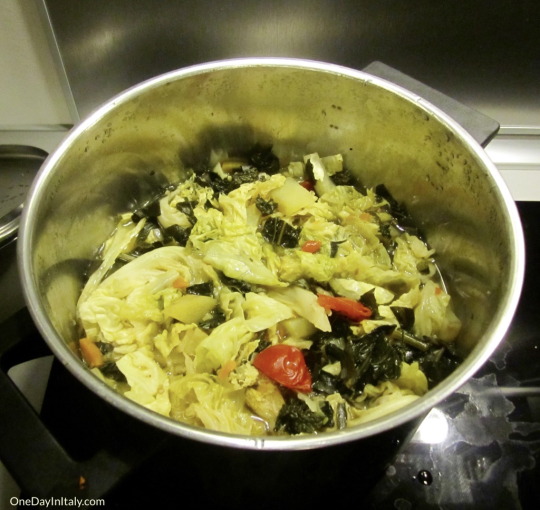
Add in your pre-soaked / pre-cooked beans and stir (if you want to, you can puree 1/3 of the beans before adding them to the soup to thicken the broth; the bread we’re adding later will also do this, though). Recover and let simmer for another hour, adding broth if necessary.
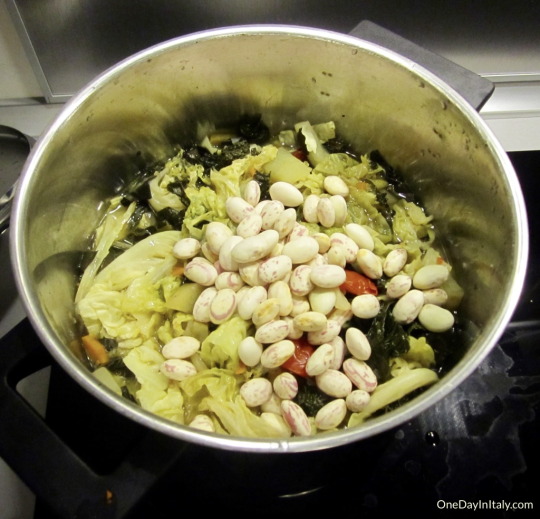
And then you’ll have this lovely looking concoction! (That was sarcasm)
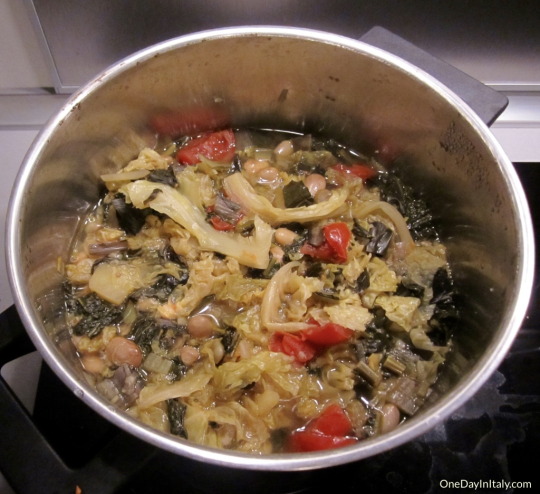
The recipe told me to put everything in a large class bowl and cover it with clear plastic wrap, then to place it in the refrigerator overnight. That’s right – if I had followed the recipe and used dry beans instead of fresh, this would be the SECOND “overnight”. It’s night a fast process. Keep the broth, too – you might need the rest of it in the next step.
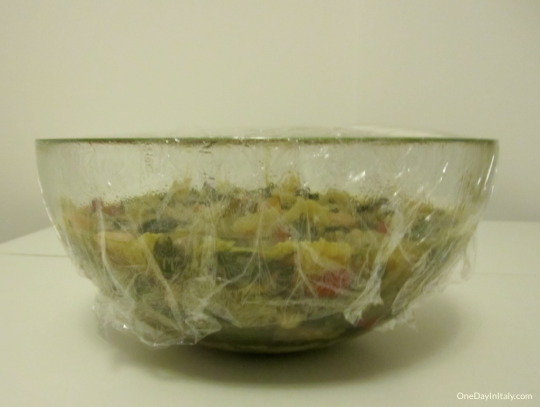
The next evening, the recipe says to put everything BACK in a large pot. I, however, am not feeding an army, so this is the point at which I separated the soup into individual containers to finish the process each night as I ate it. But I did put the portion I was cooking that night into a pot; it looked much the same as it had the night before when I had put it into the fridge.
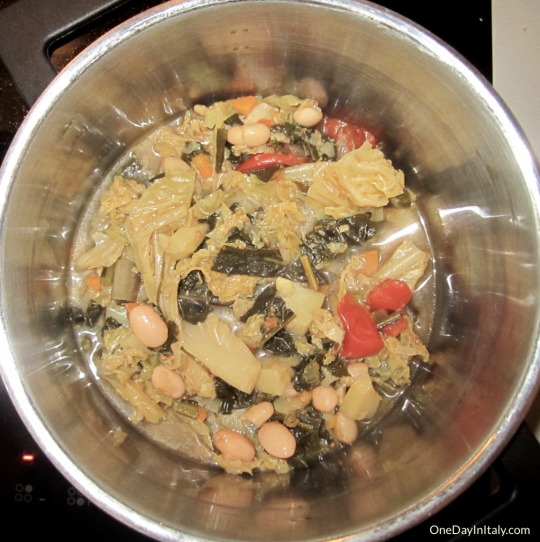
Add in your pieces of stale bread and mix them in (it’s ok if they’re totally hard right now). Add a bit more broth if necessary.
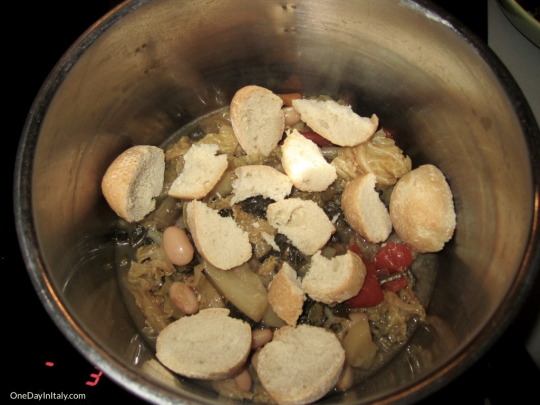
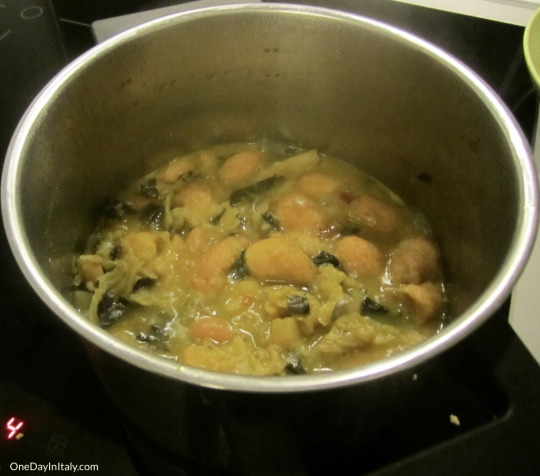
Bring slowly to a boil and leave, stirring occasionally, for 15-20 minutes. The bread will soak up the broth and bits of the bread will dissolve into it, giving it a thicker consistency. And then… voila!
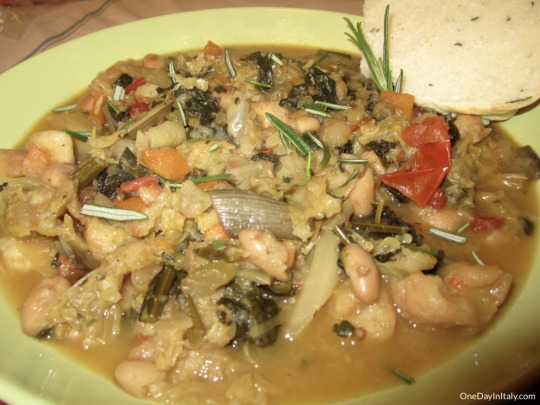
Sprinkle chopped rosemary on top and serve. The GialloZafferano recipe says to grill slices of bread to eat with it, but I think this Panmarino (Rosemary Bread) that I made with the extra rosemary I had bought goes perfectly on the side!
It may not look very appetizing – or at all, in fact! – but it’s a wonderful, warm, hearty and healthy soup that the Tuscans have been enjoying for centuries. It’s a big of a process to do all the time, but once in a while on a cold day, ribollita totally hits the spot. Enjoy!
Comments
comments


Leave a Reply