
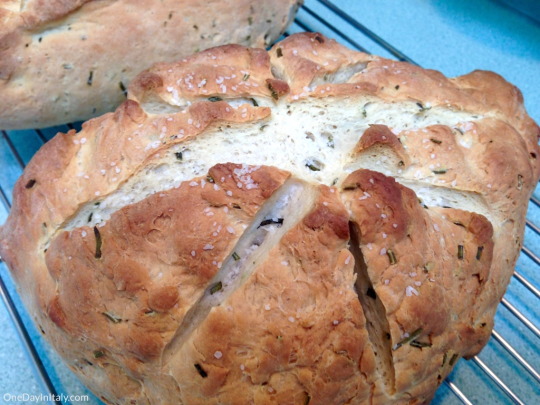
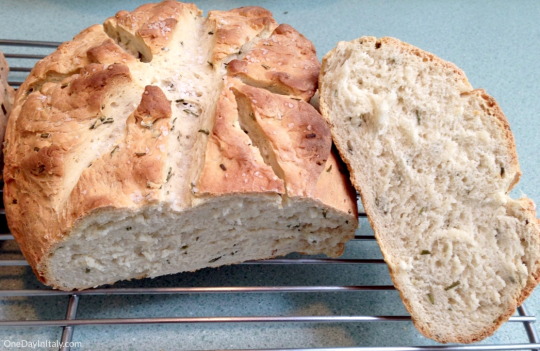
I adore this bread and so does everyone I bake it for! (Don’t yell at me about ending a sentence with a preposition – bread is more important than grammar) It’s relatively easy to make, doesn’t take a great deal of time and goes with almost anything you’re eating. It’s got a hard crust that sparkles “like diamonds” and a soft, dense center perfumed with rosemary. I repeat: I adore it.
According to legend, Panmarino was developed by a baker near the Italian town of Ferrara. The baker, appropriately named Luciano “Pancalde” (”Hot Bread”), lived in an undefined time period – but we know it was after the rule of Ferrara by the d’Este family in Renaissance Italy. It was supposedly historical chronicles of the d’Este family’s lush parties that Luciano was reading when he found the description of a bread that had a rosemary aroma, light interior and golden crust that “sparkled like diamonds” (did you think I had made that up myself?). He experimented for a while and finally came up with this brilliant bread, Panmarino.
“Pane” means “bread” in Italian and “rosmarino” means “rosemary”. Thus “Pan(e)(ros)marino”. Proof that wominations (word combinations) didn’t start with Brangelina.
Note: Feel free to experiment with flours for this bread to get the consistency you want. In the States I usually just use all-purpose flour. In Italy, though, where there’s no such thing as “all-purpose” flour, I experimented with a combination of Type 0 flour (also known as “American flour” – it has a higher gluten content) and Type 00 flour (a finer grain) or Type 0 flour and Semolina flour (the type that’s labeled “for pizza and focaccia”). All combinations give a slightly different – but equally as enjoyable – texture on the inside of the bread. As we say in Italian, feel free to do it come vuoi (”as you like”).
This recipe makes 2 medium-sized loaves.
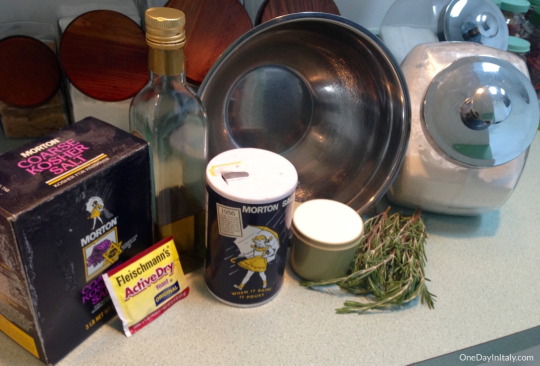
Ingredient List:
1 cup warm water (for the yeast)
1 packet active dry yeast
1 cup room-temperature milk
1/4 cup olive oil
4 teaspoons to 1/4 cup chopped rosemary - come vuoi! (depending on how much rosemary you like in your rosemary bread)
4 teaspoons regular salt
6 1/2 cups of flour (see the note above)
Large-grain sea salt to sprinkle on top
Tools:
Cutting knife (for the rosemary)
Measuring cups / spoons
Baking sheet or stone (with parchment paper if using a sheet)
Razor blade or very sharp knife to score the top of the dough (if it’s not sharp enough if will pull the dough instead of cutting it)
Large bowl (oiled)
Clear plastic wrap (or a dish towel, if you don’t have clear plastic wrap on hand)
Wooden spoon (or other instrument) to begin incorporating the dough, if desired
Kneading surface
Step 1: Add the active dry yeast to one cup of warm water and let sit for 10 minutes or until foamy. If the water is too hot it will kill the yeast, too cold and it won’t activate it. Warm but not scalding is perfect.
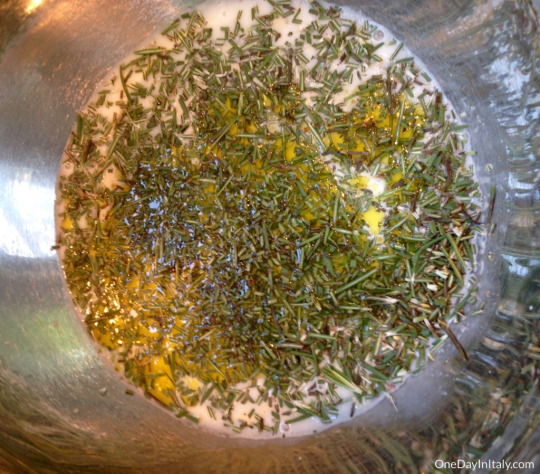
Step 2: Add the room-temperature milk, olive oil and rosemary to the yeast mixture. Stir.
Step 3: Begin adding the flour and salt to the liquid mixture – but only 1/3 of it! You can mix the salt & flour together beforehand, if you want, so it’s more evenly incorporated, but I usually don’t bother.
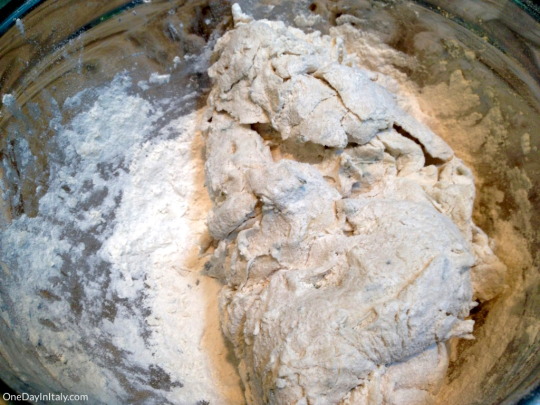
Step 4: Once 1/3 of the flour and salt is incorporated into the liquid, add another 1/3. You should have about 2 cups of flour left (and a little over a teaspoon of salt, if you didn’t pre-mix it with the flour).
Step 5: Add the rest of the flour and salt into the bowl. You may need to begin trying to incorporate it with your hands if you’re not already, and you may find that not all of the flour wants to absorb into the dough. That’s alright – just pour it all out onto your kneading surface and incorporate it as you begin to knead.
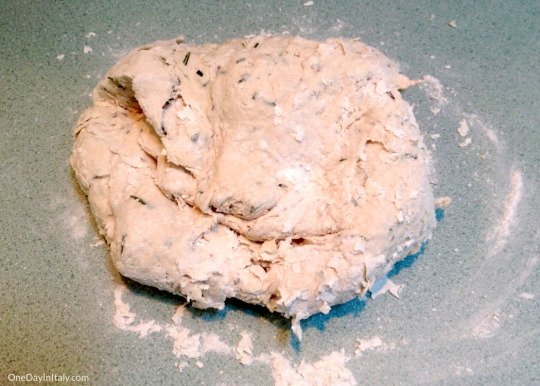
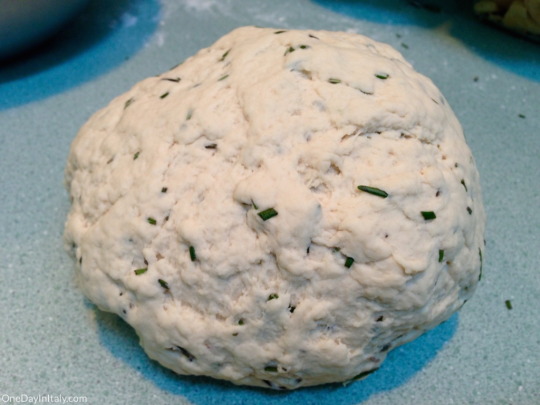
Step 6: Knead the dough for about 10 minutes (I usually start keeping time once most of the flour is incorporated). If you’re used to making pastries, you’ll find that this dough isn’t smooth like pastry dough, that it still will tear a bit even after kneading. That’s ok! It’s a rustic, dense bread; that’s to be expected.
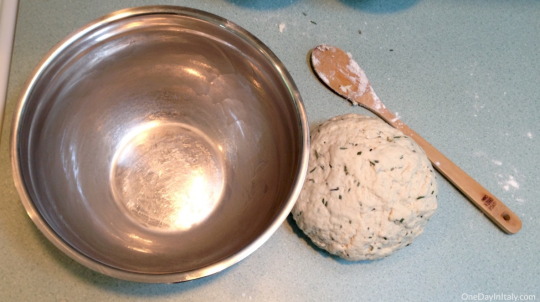
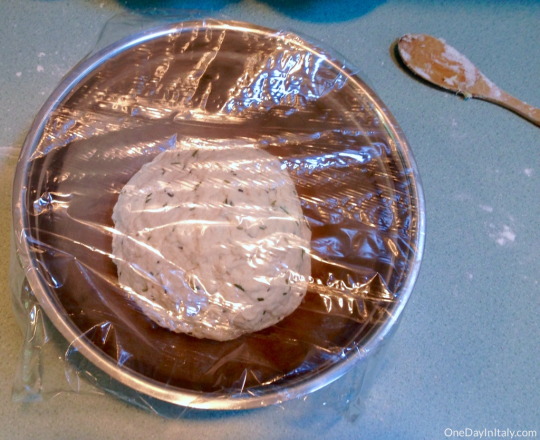
Step 7: Place the large ball of bread dough in a large, oiled bowl and cover with clear plastic wrap. Put in a warm (not hot, not cold) area of the house and let it rise for about 1 hr 30 minutes, or until about doubled.
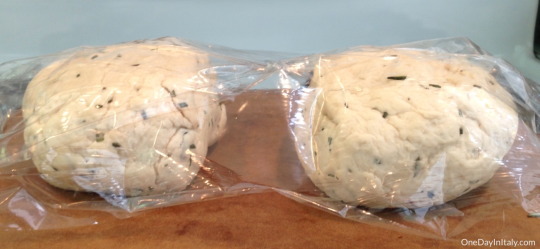
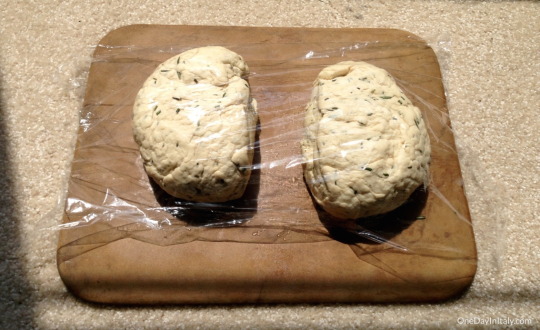
Step 8: Once doubled, punch the dough (I know it seems counter-intuitive) and then divide it into two equal pieces.
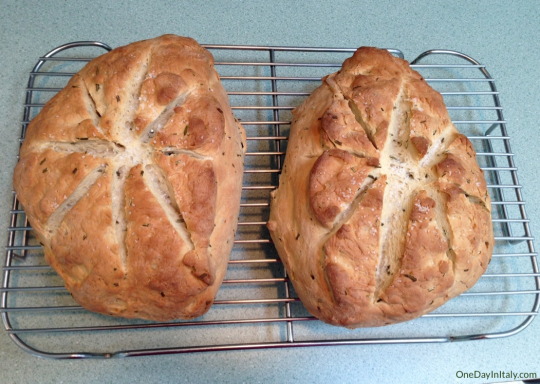
Step 9: Shape the two pieces of dough however you like and set on a baking stone or a baking sheet with parchment paper. I usually don’t worry about forming perfect circles. The dough is a bit difficult to shape without working it a lot, something I prefer not to do (but for no real reason). Like I said, it’s a rustic bread – it can have a rustic shape.
Step 10: Put back in that warm spot, covered with clear plastic wrap or a clean, dry dish towel, and let rise for about an hour. The dough shouldn’t quite double.
Step 11: Preheat the oven to 450 degrees Fahrenheit.
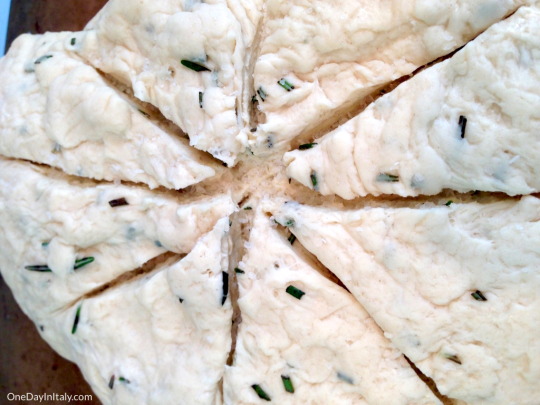
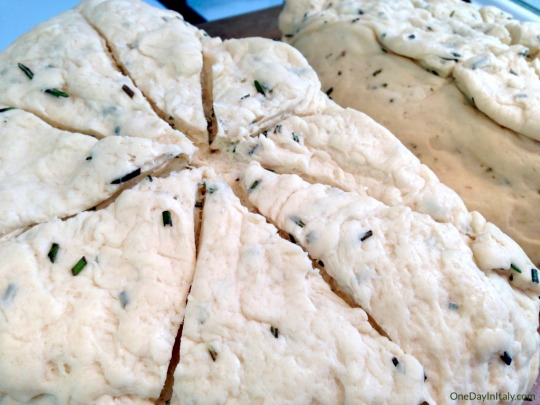
Step 12: Once the dough has finished the 2nd rise, take your sharp knife or razor blade and score the top in an 8-pointed star pattern. Sprinkle inside the score marks with the large grain sea salt.
Step 13: Once the oven is preheated to 450, put the bread on a center rack and bake for 10 minutes.
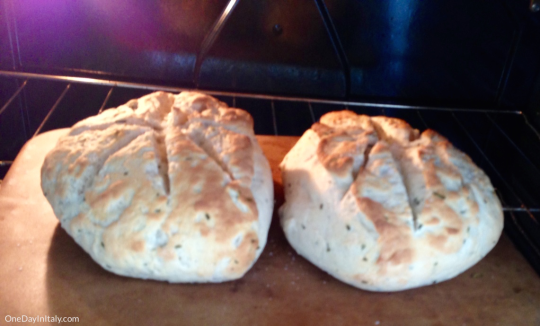
Step 14: After 10 minutes, lower the heat to 400. The high heat should’ve shocked the top of the bread into a patchy golden brown.
Step 15: After 10 more minutes, take the bread OFF the baking stone or sheet and place it directly on the center rack. Lower the oven again to 350 and bake for 15-20 minutes (depending on your oven). Starting at a high temperature and progressively lowering it gives the panmarino it’s hard, rustic crust.
Let cool, serve warm, cut into chunks or slices and freeze - come vuoi :) The only thing I’d advise is that, if you decide to freeze it, let it come back to room temperature naturally – don’t put it in the microwave. The crust becomes chewy in the microwave and no one likes chewy.
You can serve this bread on the side of a dinner, before dinner with an antipasto, make bruschetta with it, cover it with a fresh, soft cheese and a drizzle of honey… the possibilities are endless! How do you like to eat panmarino?
Comments
comments


Leave a Reply